2012 0005 0019

Google Completion in Emacs

While many an emacs include dabbrev-expand for within-buffer completion, I’ve always wanted (purely for reasons of amusement) to take it further: completion via Google’s search suggestions. I was going to do this as a weekend project, but an ugly version was surprisingly simple.

Conveniently, curl is all we need to fetch the completions for a query string as JSON:

> echo -en $(curl -H "Accept: application/json" \
  "https://suggestqueries.google.com/complete/search?client=firefox&q=query")

["query",["query","query xiv","query letter","query_posts","query shark","query access","query tracker","query string","query letter sample","queryperformancecounter"]]

using a (very platform dependent) echo trick to convert the escaped unicode sequences to their proper characters.

With this, a quick hack in elisp is all that’s necessary to parse the results into emacs and insert it into the current buffer:

(defun google-request (query)
 (shell-command-to-string
  (format
   "echo -en $(curl -H \"Accept: application/json\" \"https://suggestqueries.google.com/complete/search?client=firefox&q=%s\" 2>/dev/null)"
   query)))

(defun google-preprocess (query)
 (let ((l (split-string
	   (apply 'string
		  (removel
		   '(?\" ?\[ ?\])
		   (string-to-list query)))
	   ",")))
  (if (> (length (car (cdr l))) 0)
    (remove (car l) (cdr l))
   nil)))

(defun google-complete ()
 (interactive)
 (end-of-thing 'word)
 (let ((s (thing-at-point 'word)))
  (when s
   (let ((q (google-preprocess (google-request s))))
    (when q
     (insert (substring
	       (car q)
	       (length s))))))))

(defun removel (el l)
 (cond (el (removel (cdr el) (remove (car el) l)))
       (t l)))

Since it went more swiftly than anticipated, I generalized the code to parsing any delimited shell output and wrapped it in a minor mode with some key bindings and customize variables. Right now, I’m uncreatively calling it shell-parse.el.

After activating shell-parse-mode, it has support for scrolling through the list of completions forwards (shell-parse-complete) and backwards (shell-parse-complete-backwards) with the C-Tab and C-Shift-Tab keys, respectively. Using M-x customize-mode <Enter> shell-parse-mode, you can swap out the curl command with any shell snippet that will kick back completions, and change the delimiter as well.

You can grab shell-parse.el on github. Simply load-file the shell-parse.el script in .emacs and it should be ready to go.

It has a few todos scattered through it yet, and is not very idiomatic emacs or portable, but that’s what github’s issue tracker is for, after all.

2012 0004 0007

Preprocessors and Graphviz

Graphviz is a useful toolset for describing and rendering graphs. One of the features the graphviz language doesn’t have, however, is a C-like preprocessor to #include files. Which, granted, isn’t a particularly common use case when building graphs, but one I found desirable when dealing with a large number of graphs with a shared subset of nodes, differing by how they are connected.

Initially, I grafted together an unwieldy script that used an ugly grep+sed combination to grab the line number and substitute the included file contents: essentially a poor man’s preprocessor. Thankfully, to the rescue was a particularly useful gist (initially illustrated with JavaScript) I serendipitously found on Reddit. The key call being this:

cpp -P -undef -Wundef -std=c99 -nostdinc -Wtrigraphs \
    -fdollars-in-identifiers -C < input.dot > output.dot

In your input .dot file, standard C include syntax

#include "common.doth"

will work as expected, despite the fact that it is a completely different language.

This solution is highly verbose if you don’t drop it in a build chain and forget about it. Which is straightforward using a standard makefile:

SOURCES = $(wildcard *.dot)
OBJECTS = $(SOURCES:.dot=.doto)
IMAGES  = $(SOURCES:.dot=.png)

all: $(IMAGES)

%.png: %.doto
	dot -Tpng $< > $@

%.doto: %.dot
	cpp -P -undef -Wundef -std=c99 -nostdinc -Wtrigraphs \
		-fdollars-in-identifiers -C < $< | \
		gvpr -c 'N[$$.degree==0]{delete(NULL,$$)}' > $@

clean:
	-rm $(IMAGES) $(OBJECTS) *~

In the above example, I introduced an intermediate doto file (analogous to an object file) and doth (header file) to recreate a C-like build process.

Another ingredient above is the piped invocation of gvpr, which removes nodes of degree 1 (so that included nodes that are not attached to anything in the current file will be ignored). Remember that in makefiles, the $ must be escaped by using $$. Unfortunately, the delete function in gvpr is broken in a number of Debian-based distros (at least), but the latest version works bug-free in Arch.

So, given a nodes.doth file with these contents:

    node1 [label = "1"];
    node2 [label = "2"];
    node3 [label = "3"];

and a graph.dot file as such:

graph g {
    #include "nodes.doth"

    node1 -- node2;
    node2 -- node3;
    node3 -- node1;
}

the makefile will use cpp to generate the following intermediate file,

graph g {
    node1 [label = "1"];
    node2 [label = "2"];
    node3 [label = "3"];
    node1 -- node2;
    node2 -- node3;
    node3 -- node1;
}

which will then be compiled by graphviz’s dot command into an image. While obviously not necessary with this toy example, scaling up to more nodes shared by multiple graphs is much more pleasant when the nodes don’t have to be duplicated in each graph.

Very little of this is exclusive to graphviz, and is reasonable to extrapolate to other problems fairly easily. And, since this literally uses the C preprocessor to do the job, there’s many more tricks to be explored.

Quite helpful to have on hand when the need arises, and a testament to the quality of cpp that it can be used for arbitrary metaprogramming in other languages.

2012 0003 0024

QR Codes En Masse

For the upcoming POSSCON here in Columbia, we had need of QR codes for the brochure. Lots of them. And while there are some great online resources, I wanted to create QR codes in batch.

Of course, the online services could be batch processed with a dose of curl magic, but there is a more UNIX way: libqrencode.

Creating a discrete QR code image is straightforward with the qrencode command:

qrencode -o output.png -s 50 "https://www.malloc47.com"

The -s parameter controls the size of the QR “dots” and therefore the output resolution.

This is great if you don’t need a vectorized format, but for print-quality work where you may not know the eventual DPI, having vectorized output (e.g. eps, and svg) is preferable.

Again, the vast repositories of libre software come to the rescue here: potrace is designed for exactly this. Annoyingly, it only handles bitmap (or the easy-to-generate pnm) format, so a little imagemagick will take care of this:

convert output.png output.bmp

Now we can convert to a vector format easily:

potrace -e -o output.eps output.bmp # -e is for EPS
potrace -s -o output.svg output.bmp # -s is for SVG

We can wrap it all up into a nice (bash) script:

#!/bin/bash
set -e
qrencode -o $1.png -s 50 "$2"
convert $1.png $1.bmp
potrace -e -o $1.eps $1.bmp
rm $1.png $1.bmp

which takes a file name prefix and a string to be encoded. To generate a large set of QR codes with this script, simply create a file with file prefix-URL(or whatever data is to be encoded) pairs, each on a separate line,

google https://www.google.com
amazon https://www.amazon.com
reddit https://www.reddit.com
....

and then loop over this file, line-by-line:

while read line ; do ./create-qr-code.sh $line ; done < list.text

which conveniently gives us google.eps, amazon.eps, and reddit.eps files for their respective URLs.

If there is uncertainty that your URLs are good (i.e. don’t kick back 404s), then you can augment the above script with this nice curl snippet (courtesy of this post on SO):

#!/bin/bash
set -e
curl -s --head $2 | head -n 1 | grep "HTTP/1.[01] [23].." > /dev/null
if [ $? -eq 0 ] ; then
    qrencode -o $1.png -s 50 "$2"
    convert $1.png $1.bmp
    potrace -e -o $1.eps $1.bmp
    rm $1.png $1.bmp
else
    echo "URL error: $2" 1>&2
fi

This will let you know which URLs don’t come back with clean headers so you can give them further attention. It won’t capture everything that might go wrong, but it does give you a programmatic way to verify that all is well.

Incidentally, all the tools used here can be installed on Arch with

pacman -S qrencode potrace imagemagick curl

Not exactly the prettiest shell glue, but it certainly beats slowly copy & pasting in and out of a browser.

2012 0003 0020

Flirting with the Front End

Every few years, when I’m not teaching introductory web programming, I revisit front end development, oftentimes in the form of retooling my site. Last time, it was a Wordpress-driven theme with cobbled-together JavaScript snippets for random bits of functionality:

Old Site

Serviceable, at least.

Before this, I used a generic Wordpress theme, the specifics of which I don’t recall. Rolling back all the way to the mid-90s, I had a fortunecity site, which was–as typical of sites in the 90s–equal parts bland and garish:

Old Site

Yes, it had a Christmas theme for the title page. And yes, the header, navigation bar, and footer (on individual pages) are all java applets. Not exactly, a usability panacea.

And now, I’ve transitioned to Jekyll, for a few reasons:

  • It’s hard to get faster than static pages for serving content.
  • Github can handle more traffic than the shared hosting I was using previously.
  • A Jekyll deploy on github can’t use external plugins. Which is, by most accounts, a downside, but it forces me to find front-end solutions for what I want rather than turning to the back end for everything.
  • I wanted to build everything from scratch. The limited Liquid DSL used by Jekyll is leaner than full-blown PHP, and more satisfying for building from the ground-up (all my Wordpress themes started from–at minimum–a skeleton theme, just to cover the essentials needed by Wordpress).
  • Having everything in a git repo is both satisfying for my current work flow and avoids the pain of database backups.

So here it is. I avoided jQuery (convenient as it is) to keep things lean and loading quickly, and rampantly bludgeoned the site with HTML5/CSS3 without much regard for backwards compatibility. To further optimize queries, I used Liquid includes to aggregate all the js and css into single files. For JavaScript:

---
---
(function () {
    "use strict";
{% include cookies.js %}
{% include mini-clock.js %}
{% include check-time.js %}
{% include event-handler.js %}
}());

you can wrap everything with "use strict" to get some extra exception goodness. Doing this may cause JSLint to complain about indentation issues, and if you don’t add event handlers with JavaScript (e.g. you use the onclick or onload events in your HTML tags), you may run into scope issues as well. All of this together provided a nearly 20-point speed bump on Google page speed.

I opted for a dual-themed site, determined by the time of day. The clock drawn in the HTML5 Canvas element in the upper-left shows when the transition will occur, or you can override it with the icon next to the clock.

All in all, a good transition so far.

2012 0002 0028

Jedi Knight: Dark Forces II -- A coding retrospective

Years ago, before I got my hands on a real compiler, I satisfied my coding compulsion by modding Jedi Knight: Dark Forces II (which, yes, has the subtitle backwards from normal). As detailed elsewhere, Jedi Knight (abbreviated JK) is one of the earlier examples of a game that used a simple scripting language to handle interaction with the game engine. COG script, as it was called was, in hindsight, designed as much to be easy to compile as it was to write. Of course, the attractive thing to any 13-year-old who desperately wants to code in a “real” language was COG’s (superficial) similarity to C.

The structure of a COG script is straightforward: it starts with a symbols section, where all variables are declared, followed by a code section broken into various messages (denoted by goto-like labels, which must be declared as variables in the symbol section to be valid) that represent events that could be triggered in-game. Aside from the usual expressions and flow control, there are library functions that form an elementary API for the game engine itself. Variables are typed, and have one of two scopes. The “local” variables are bound within the scope of the script itself. All non-local variables must be bound to external entities in the game environment–think of them as free parameters that must be specified outside the script. Variable types include a few atomic types (e.g., int, flex) and some game-specific entities (e.g., things, surfaces), and event types (e.g., messages). Have a look:

symbols

surface downsect
message activated
thing ghosttel1
thing ghosttel2
thing player local
surface upsuf1
end

code

activated:
if (GetSenderRef() == upsuf1)
{
    player = GetLocalPlayerThing();
    TeleportThing(player, ghosttel1);
    return;
}

if (GetSenderRef() == downsect)
{
    player = GetLocalPlayerThing();
    TeleportThing(player, ghosttel2);
    return;
}
return;

end

The above code works as you would expect–it simulates a “ladder” by simply teleporting the player to the top of the ladder if they “activate” (by pressing the spacebar while standing near) a surface at the bottom, or teleports them back down if they activate the ladder surface at the top.

With no reference whatsoever–beyond the COGs included with the game itself–it took me a while to get used to writing COG. But given that it had one of the more fun compilers around (though billed as a scripting language, COG was actually compiled to a stack-based language at load-time), I had little trouble finding motivation to toy with it.

Aside from COG, JK had a variety of other specialized file types that could be (relatively) easily created or modified: .3do for 3D models, .mat and .bm for images (bitmaps, essentially), .jk for level meta information, .pup (puppet) files that link keyframed animations to specific pose states for a character, .key files which are the keyframed animations for the characters, .snd files that link sound to a character, .ai files that expose variables for how the characters react (simple artificial intelligence), .gob files which are essentially .zip files for storing all the various resources in a level, and many many more file types I’m probably forgetting.

But it was always the COGs that were most interesting to me, despite the fact that I wrote some ugly and embarrassing code in it. Really embarrassing.

And I won’t even get started on my very unrefined sense of aesthetic design in the level I ended up building. Yes, I built an entire level, mainly to facilitate being able to write fun little scripts in COG. Which is not nearly as involved as it sounds thanks to JED, a community-supported level editor. I built a very basic plotline with a number of cutscenes (9, I claim in the readme); a weapon mod that added a phaser to your arsenal (you know, the Star Trek sort–I never claimed any of this made sense except to my 13-year-old self); 
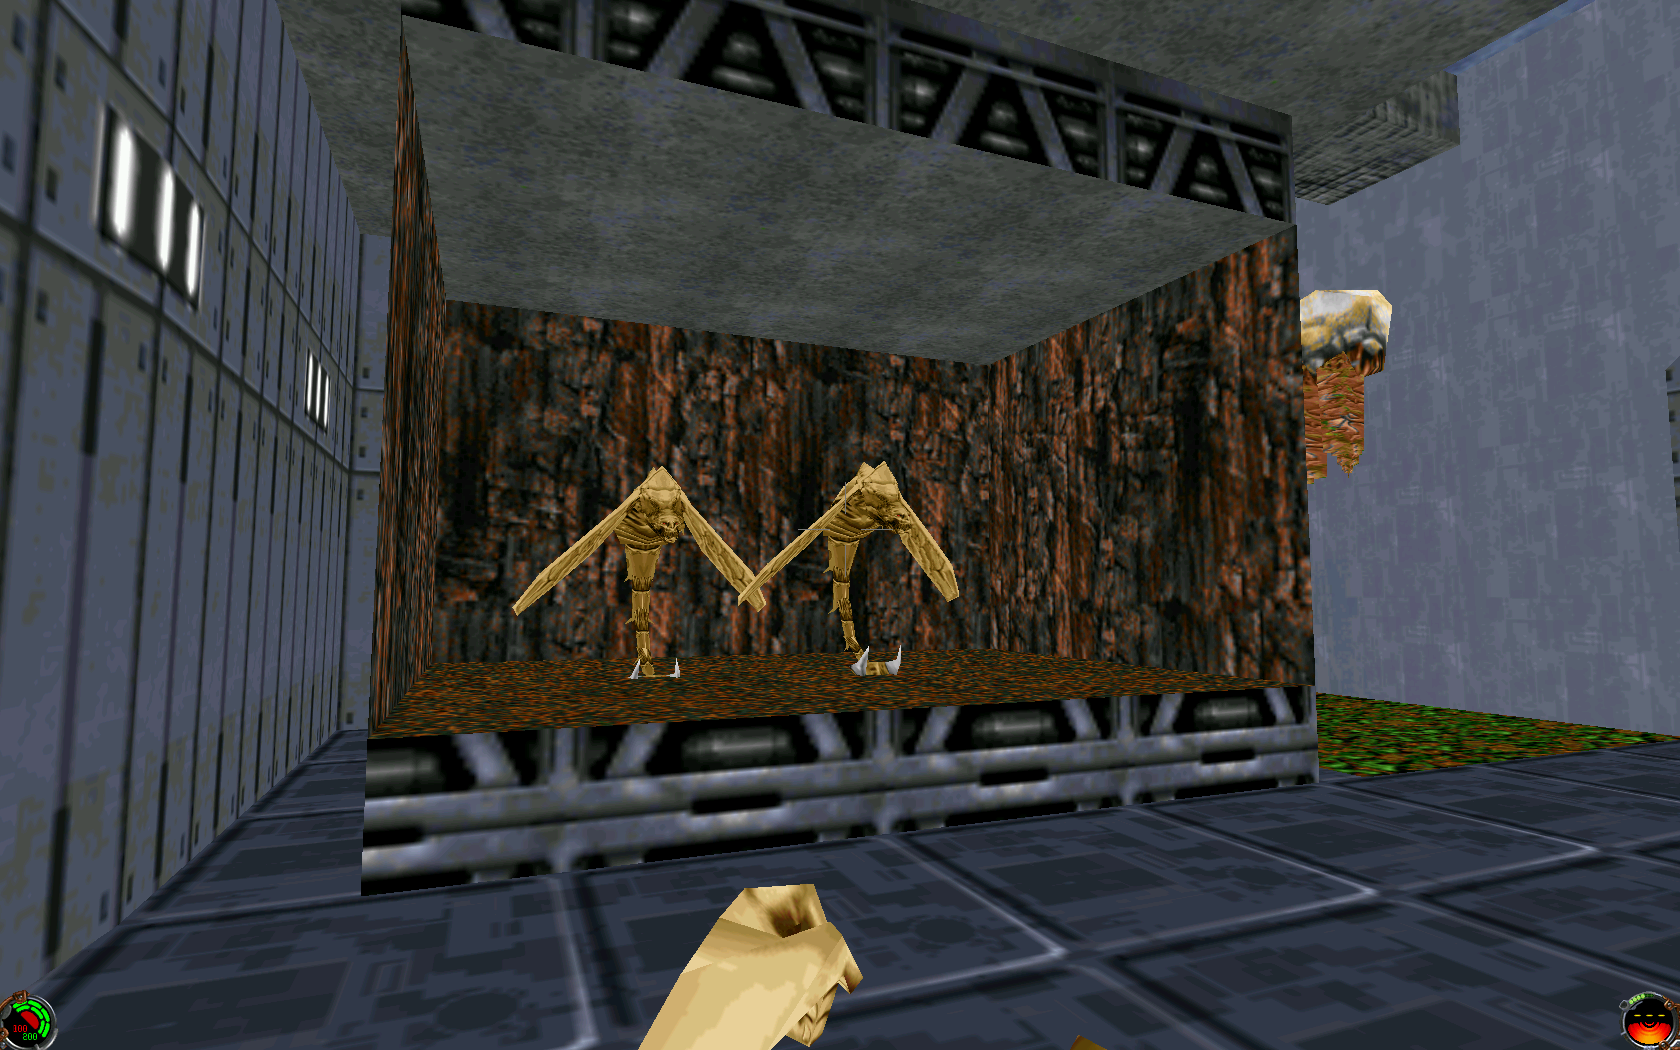
two new types of enemies, as I never thought the original lineup was difficult enough; a few secret areas, including one with a rather famous character; a zoo (again, never said anything about making sense); a few RPG-style quests; and committed some very horrible texture misuse, a fact that the contemporary reviews will back up.

I did learn some rather important software engineering lessons along the way. I recently ran across my issue-tracking system: a notepad with 50+ pages of bugs and fixes that I did on the level for the year or so it was in development. Everything from enemies falling through floors, cutscenes being mistimed, and impossible-to-win scenarios, were among the issues I recorded. I simply couldn’t keep track of the number of issues I would notice on every playthrough without writing them down.

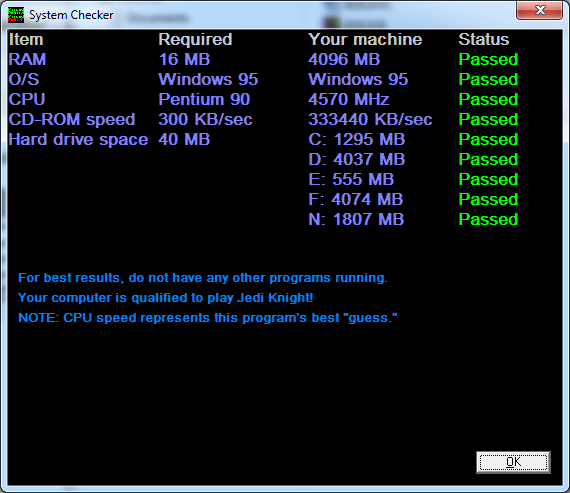
On my nostalgic adventure, I decided to actually get Jedi Knight up and running again. I think my PC was perfectly adequate to run the game, according to its own system requirements analyzer:

Analyzer

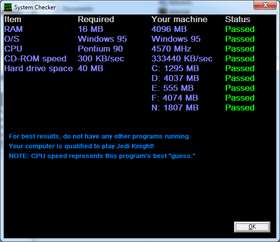
Though it was incorrect about the "Windows 95" part.

Thankfully, a kind soul rewrote the 16-bit installer (here) so, if you happen to have the Jedi Knight CDs on hand, you can actually install it on a 64-bit Windows (virtual) machine.

Cinematic Screenshot

Ah, nostalgia.

Getting any new level up and running is typically as simple as placing the .gob file in the EPISODES folder. So, of course, I loaded up my old creation. I definitely had a lot of fun as a kid.

Screenshot 1

Completely forgot about the in-game menu system (so you could bypass the rather dry "Story" cutscene I included, among other things).

Screenshot 2

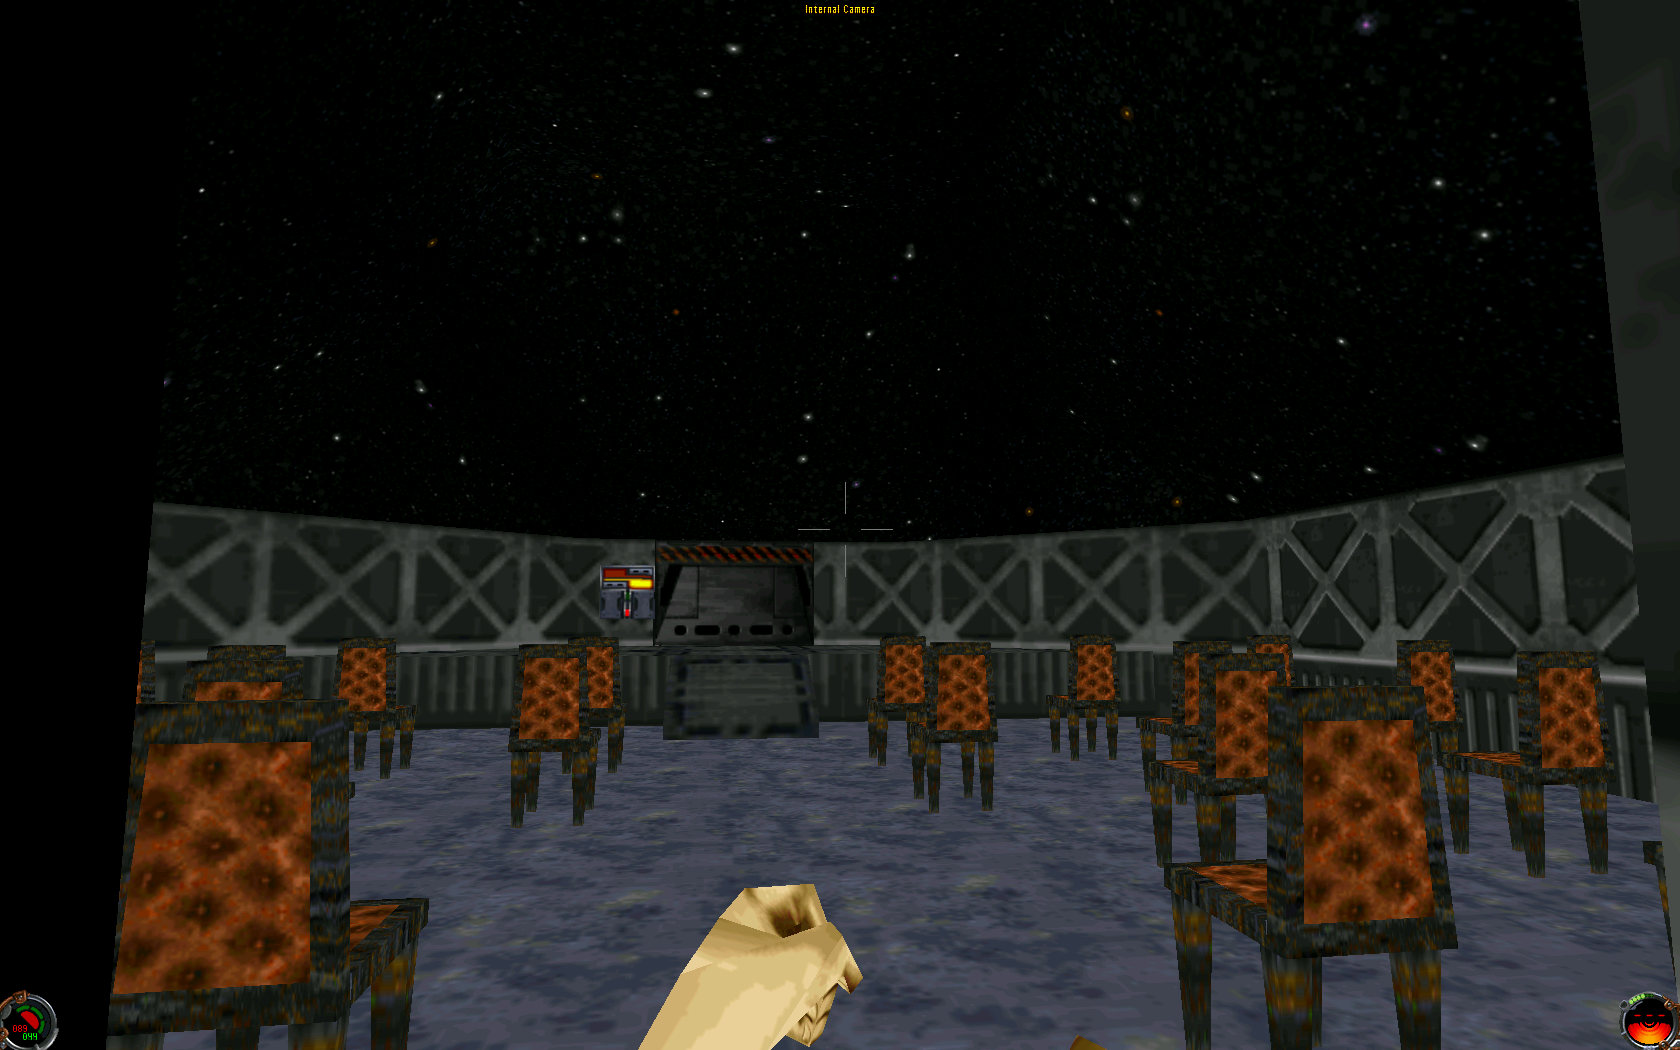
A planetarium. On a star destroyer, for some reason.

Screenshot 3

The aforementioned zoo.

Screenshot 4

Oddly, I also included a kitchen. Complete with an oven you have to crawl into to complete a mission objective.

Screenshot 5

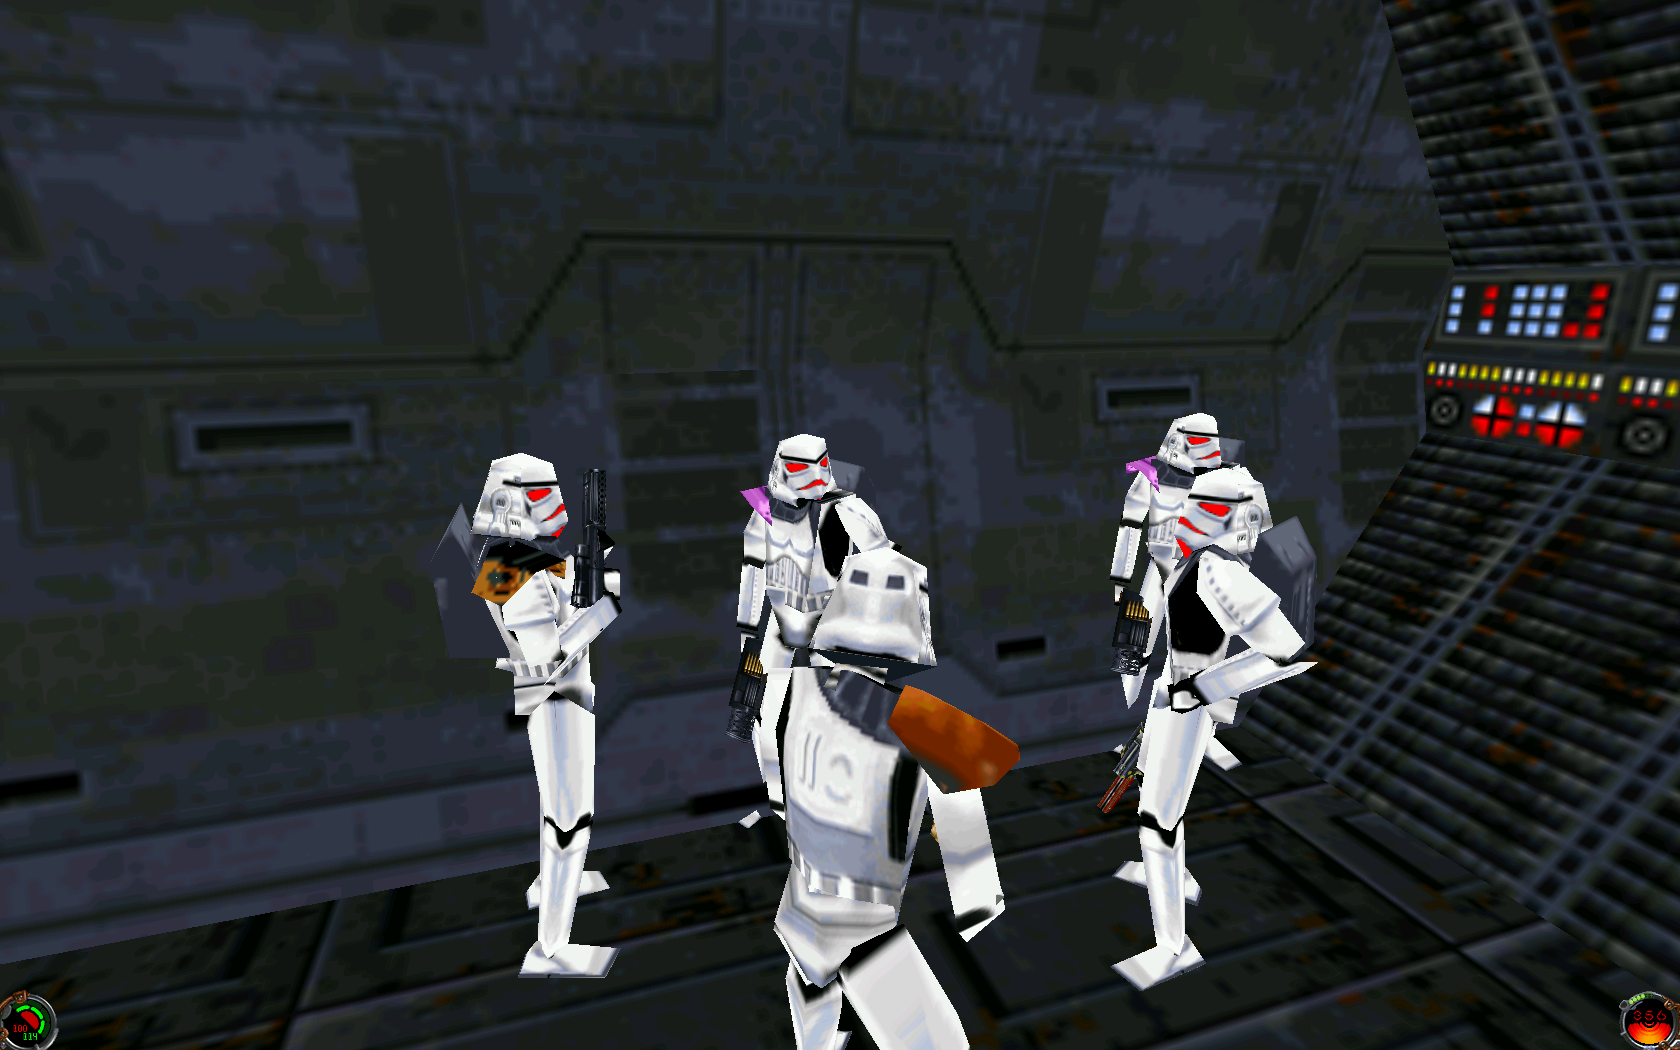
The obligatory "dress up as the enemy to get through a checkpoint" plot point.

Screenshot 6

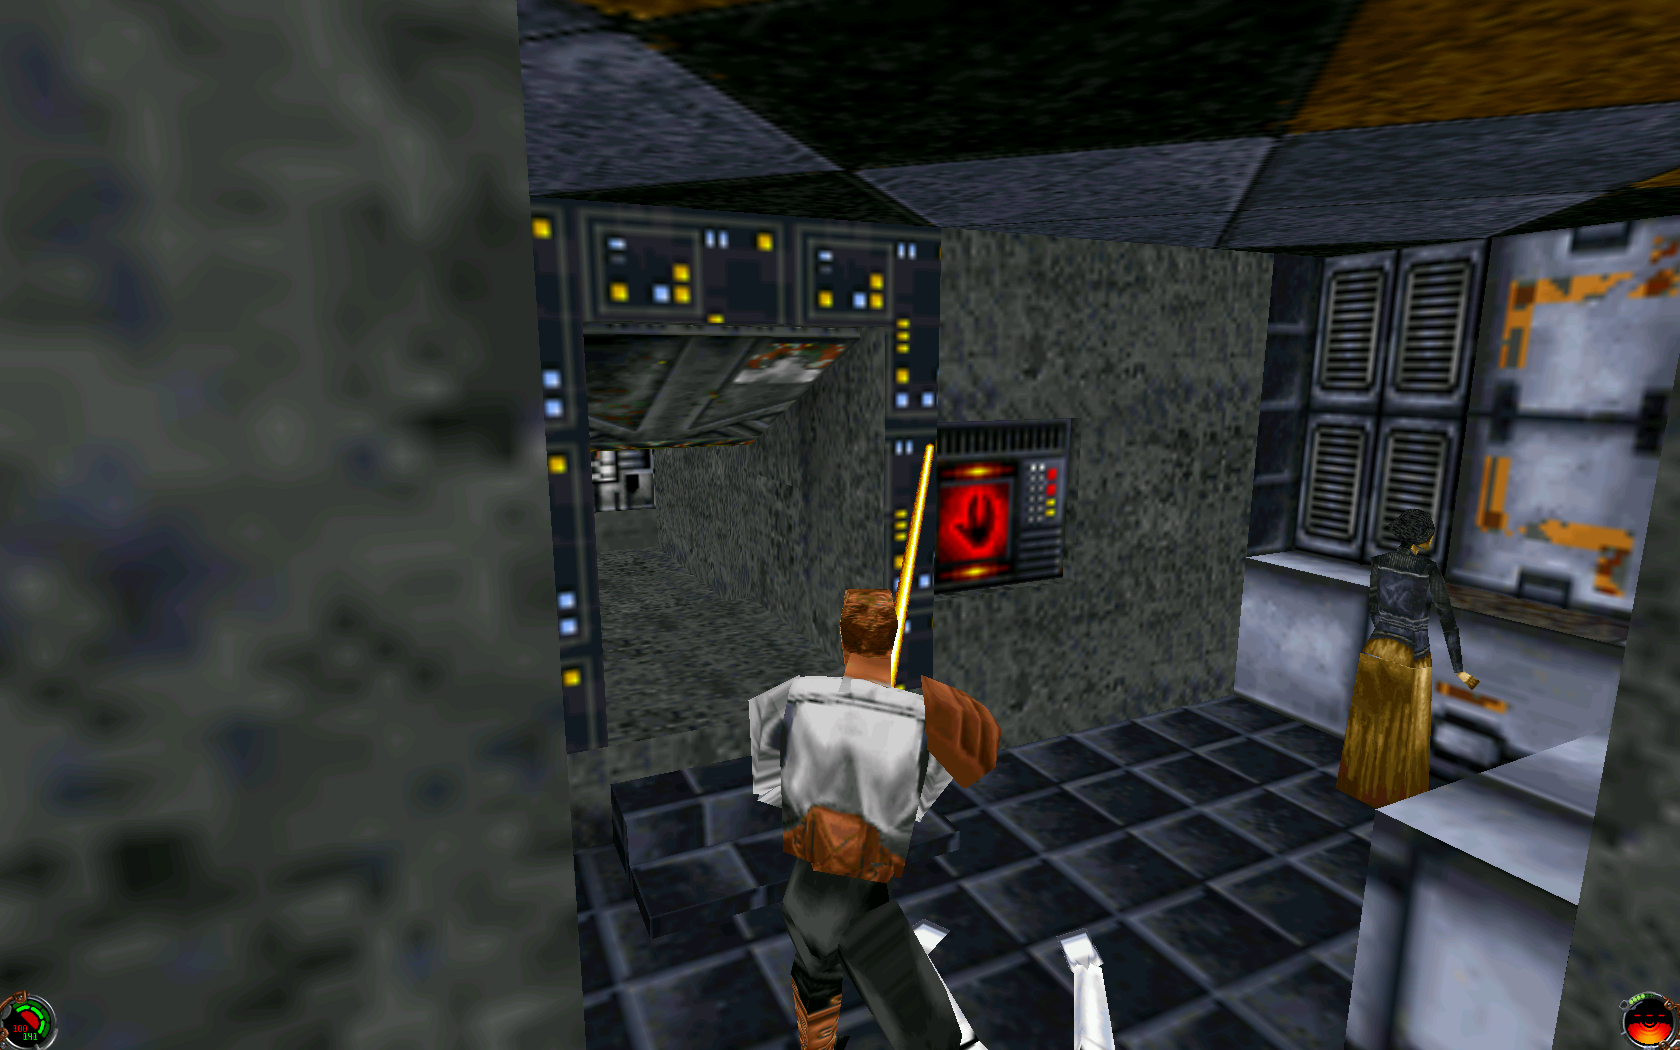
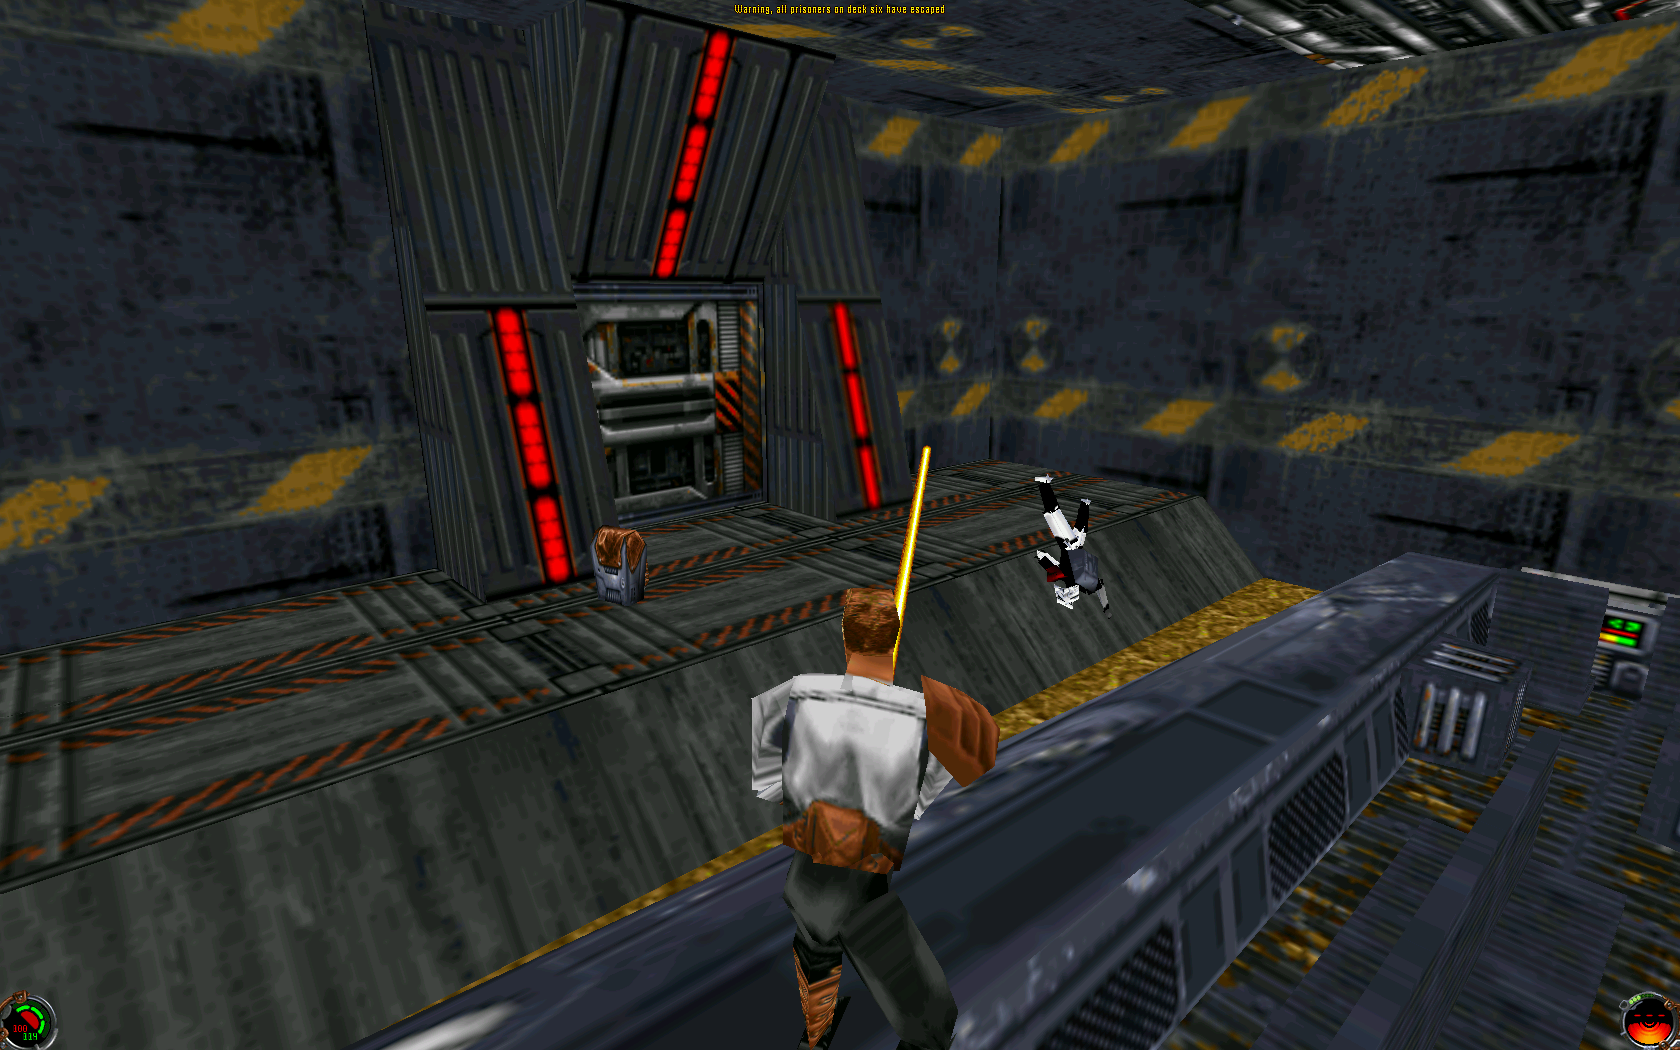
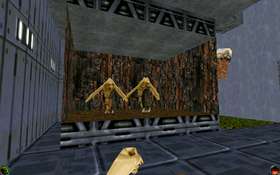
A sewer at the bottom of a detention center. Even star destroyers have to take care of their waste somehow.

Screenshot 7

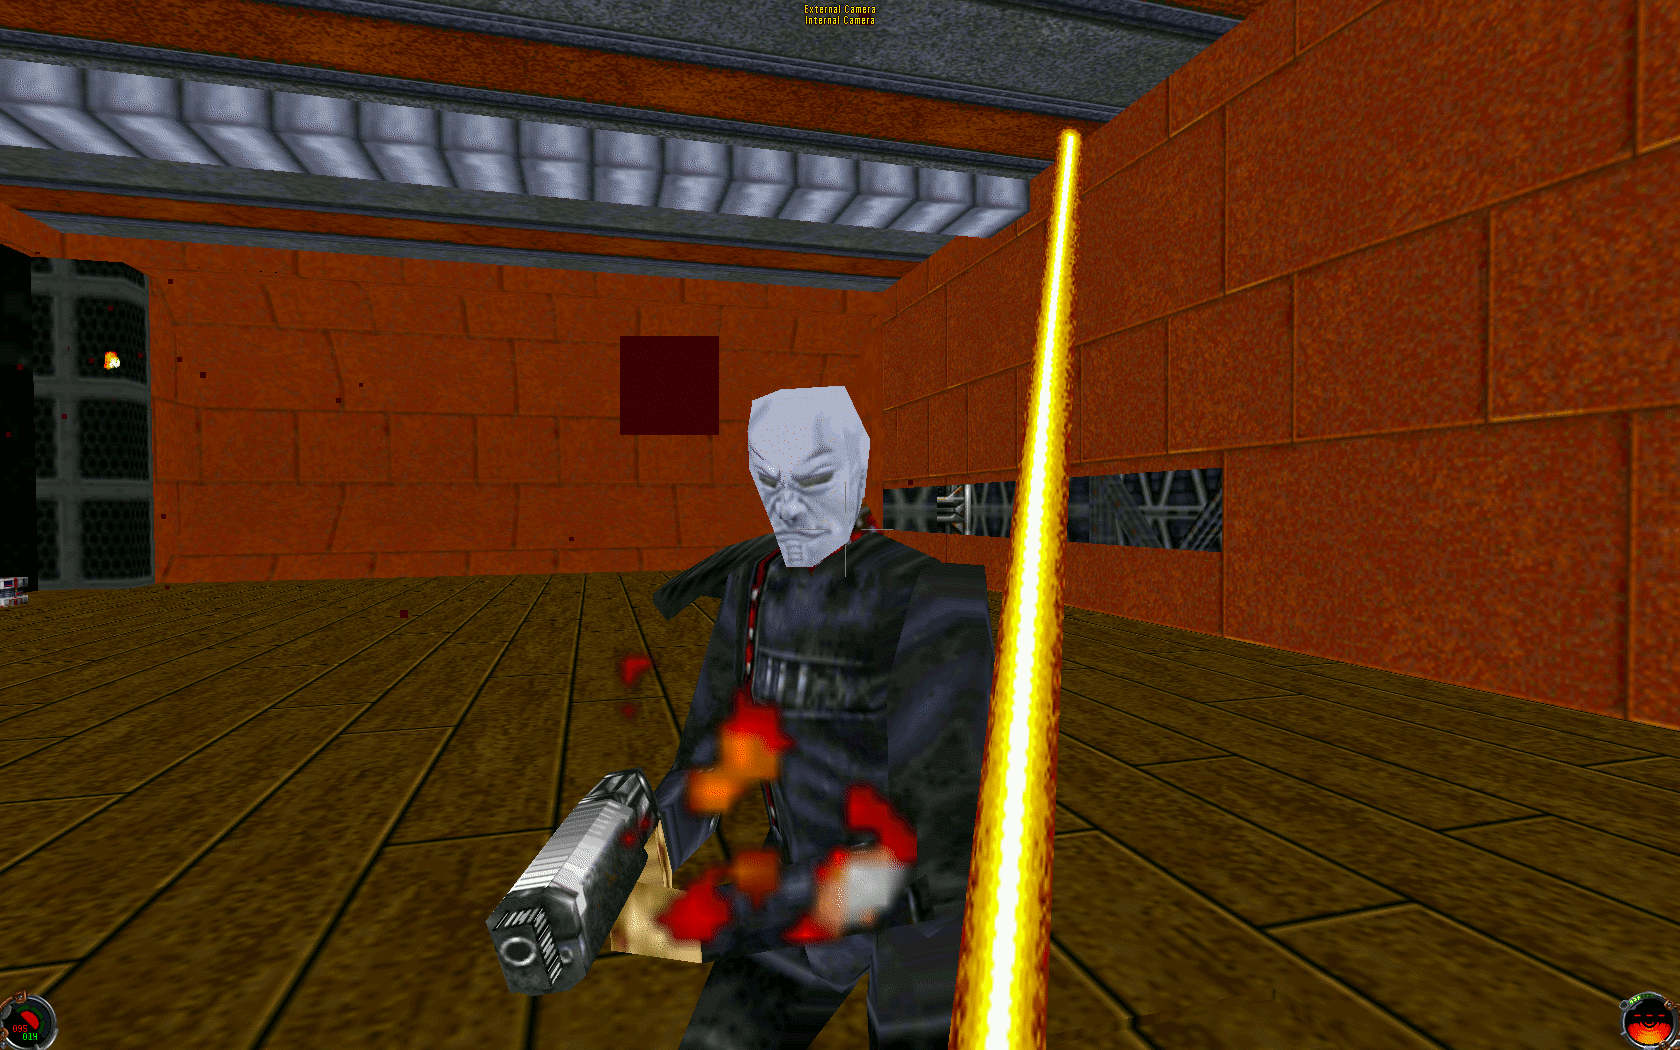
Grand Admiral Thrawn himself, wielding a phaser. And fairly deadly at that--I died a dozen times or so before beating him.

Screenshot 8

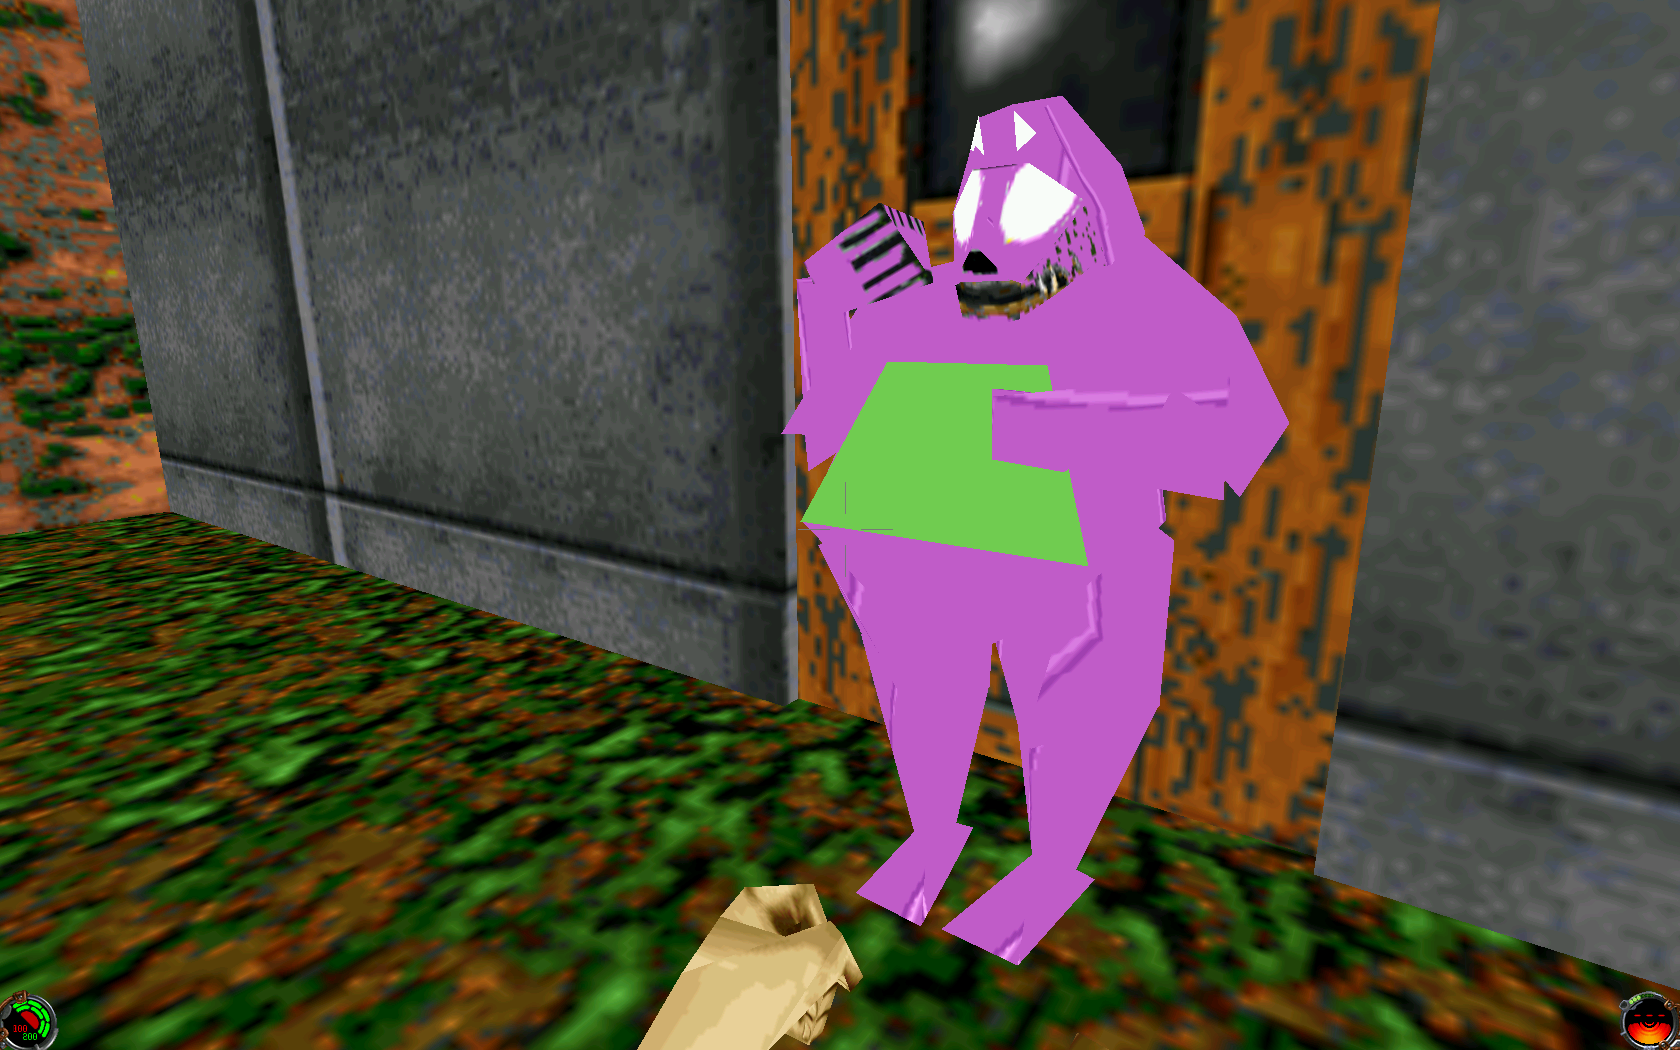
Barney makes an appearance. And yes, you can obliterate him.

While my handiwork hasn’t aged well (and neither has JK, for that matter), I’ve placed the entire monstrosity on my github for posterity’s sake: https://github.com/malloc47/return-of-thrawn.

Reflecting back, COG certainly wasn’t the most stretching or important language I learned (by a long-shot), nor was building my level the most disciplined software engineering project I’ve undertaken, but it was one thing: it was enthralling enough to keep a kid hooked on coding and building cool things. Before the era of web apps and mobile apps, or code academies and khan academies, or Scratch and Alice, I feel rather lucky to have stumbled on something that was simultaneously fun and empowering. JK wasn’t just a game. It was an ecosystem. It was an IDE. And it was fun.